Friday Facts 11: How to add a robot arm to Robot Overlord (2022)
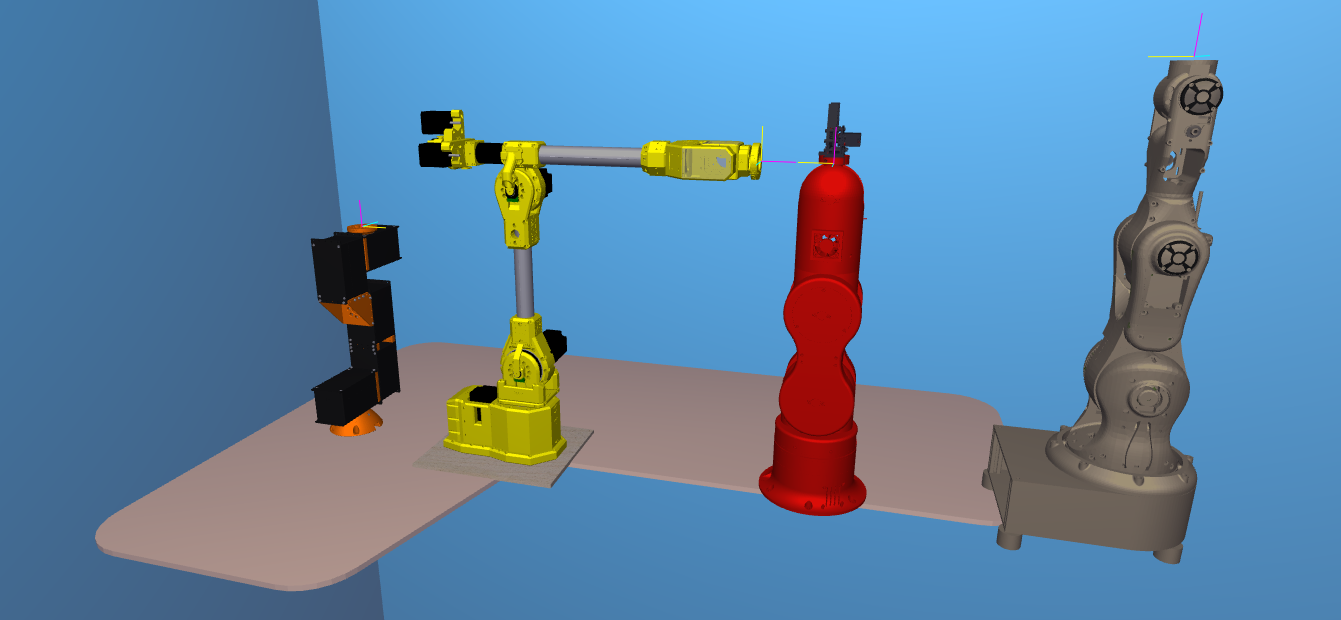
Robot Overlord is going to be the inkscape, the VLC, the Steam of robot arms – the one vendor-agnostic interface everyone teaches, knows, and loves. In order to get there it has to support every robot arm under the sun. This post is for robot arm makers that want to save time by not writing all their own code.
Did you know Robot Overlord speaks natively to Marlin 3D printer firmware? Save even more time by using the same firmware.
You will need
- A 3D CAD model of your robot arm
- The D-H parameters of the arm in the same pose as it appears in your CAD file
- The ability to write Java code for the Robot Overlord project
- Some familiarity with git (forks, commits, pull requests)
Prepare your CAD file
It is easiest to export your arm into discrete moving sections, all of which with the same origin at the bottom center of the base of the arm (see slide 1). This is the same origin as the D-H parameters.
To help Robot Overlord run smoothly and to protect your IP it is recommended that you decimate the model by removing all hidden internal structures and components. Consider leaving screw heads while removing the threaded sections to save many megabytes of file size.
Each discrete section should be exported as an OBJ or STL file. (more on this later.)
The exported files should be located in /src/main/resources/[your robot folder]/. So if your robot is named Foo then it would be /src/main/resources/foo/. It would be consistent to name them base, j0, j1, etc.
Prepare your Robot Overlord class
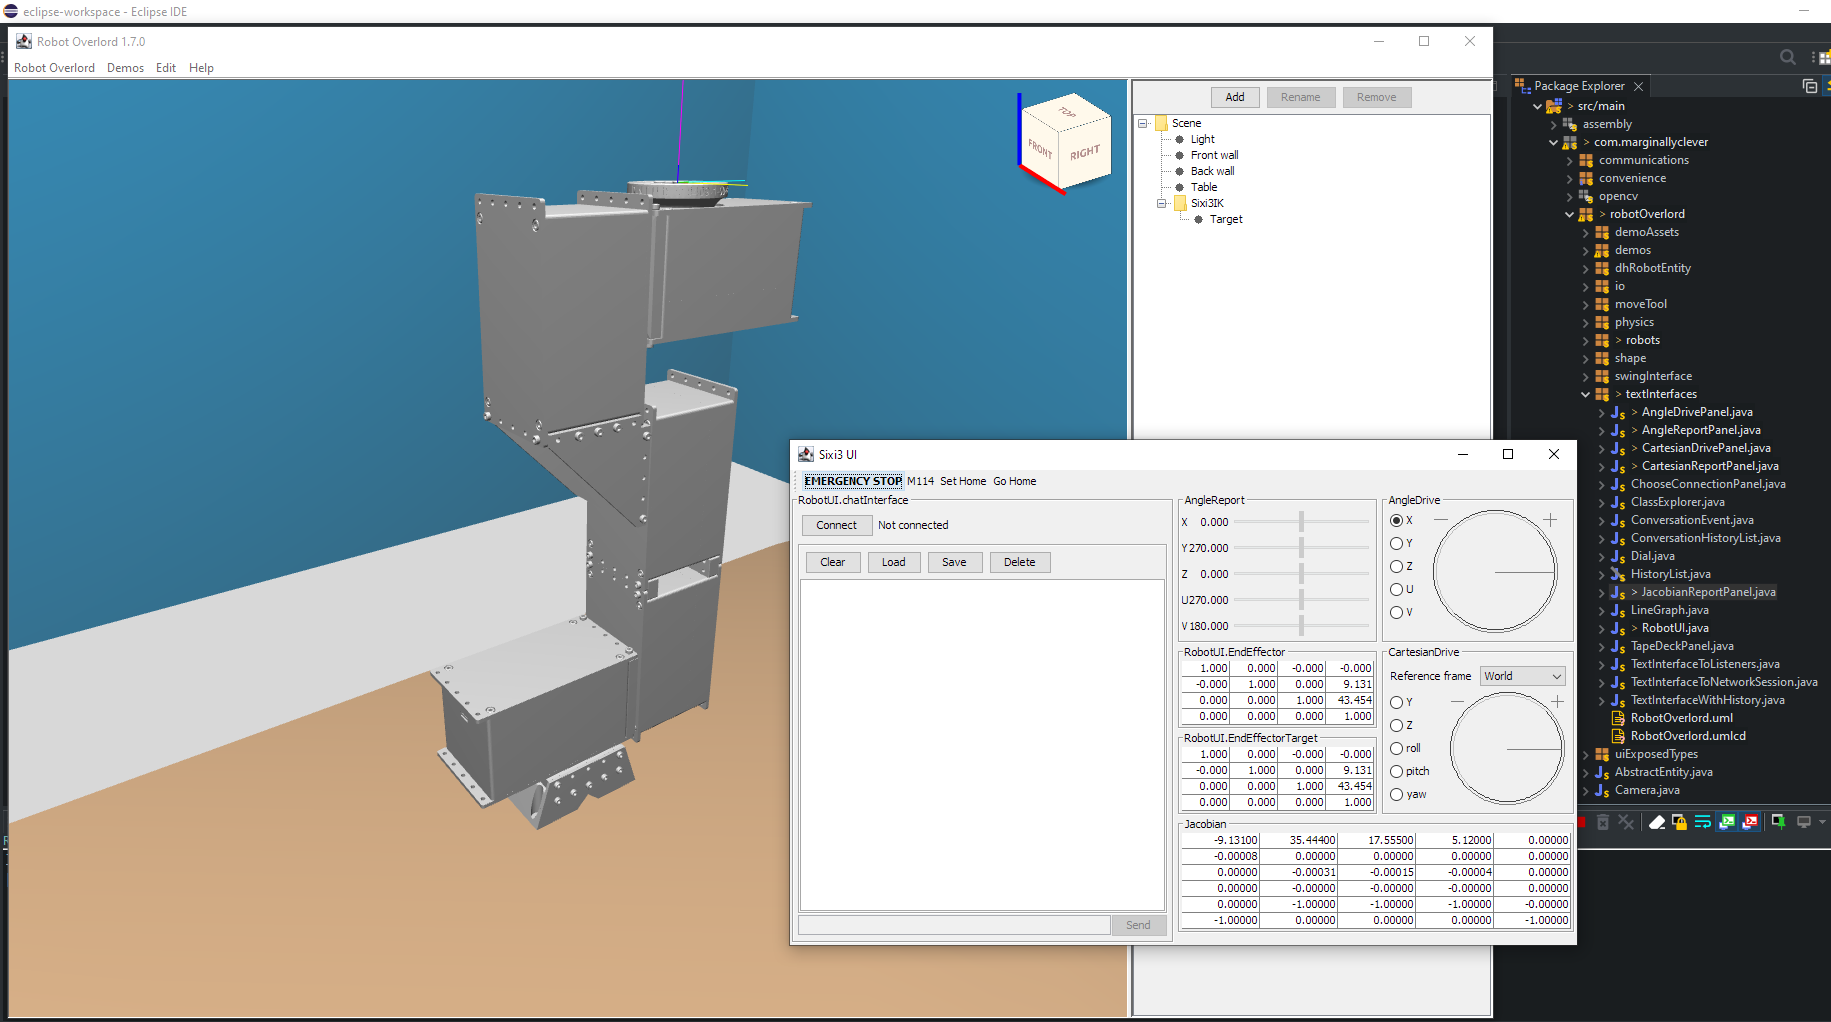
In Robot Overlord’s /src/main/java/com/marginallyclever/robotOverlord/robots/robotArm/implementations you will find the collection of currently supported robot arms. It may be easiest to copy one of these classes and modify it for your purposes. Here is the minimum needed to code your arm. Every instance of Foo should be replaced with your class name.
public class Foo extends RobotArmIK {
	private static final long serialVersionUID = 1L;

	public Foo() {
		super();
		setName("Foo v1");  // the name that appears to users.
	}

	@Override
	protected void loadModel() {
		setBaseShape(new Shape("Base","/Foo/j0.obj"));

		// The DH parameters and the model file, added in order from J0 ... J5.
		// angles are degrees, distances are centimeters.
		// name d r alpha theta thetaMax thetaMin modelFile
		addBone(new RobotArmBone("X", 7.974,     0,270,  0,170,-170,"/Foo/j1.obj"));
		addBone(new RobotArmBone("Y", 9.131,17.889,  0,270,370, 170,"/Foo/j2.obj"));
		addBone(new RobotArmBone("Z",     0,12.435,  0,  0,150,-150,"/Foo/j3.obj"));
		addBone(new RobotArmBone("U",     0,     0,270,270,440, 100,"/Foo/j4-6.obj"));
		addBone(new RobotArmBone("V",15.616,     0, 90, 90,270,-90,"/Foo/j5-6.obj"));
		addBone(new RobotArmBone("W",  5.12,     0,  0, 180,360,   0,"/Foo/j6-6.obj"));

		adjustModelOriginsToDHLinks();
		setTextureFilename("/Foo/texture.png");
	}
}
Now that the arm can be loaded by the app it needs to be on the menu of things that can be created by the user. In /src/main/java/com/marginallyclever/robotOverlord/EntityFactory.java add your new class:
public class EntityFactory {
	private static Class<?> [] available = {
		// ...
		com.marginallyclever.robotOverlord.robots.robotArm.implementations.Mantis.class,
		com.marginallyclever.robotOverlord.robots.robotArm.implementations.Sixi2.class,
		com.marginallyclever.robotOverlord.robots.robotArm.implementations.Sixi3_5axis.class,
		com.marginallyclever.robotOverlord.robots.robotArm.implementations.Sixi3_6axis.class,
		com.marginallyclever.robotOverlord.robots.robotArm.implementations.Thor.class,
		com.marginallyclever.robotOverlord.robots.robotArm.implementations.Foo.class,  // "Foo" must be your class name.
	};
	// ...
}
Now when you run the application and open the Add menu your robot name will appear.
Model size and orientation fixes
It is possible that your model appears in Robot Overlord too large, too small, or the parts are rotated in a strange way. My solution is to use a modelling program like Blender to rotate, scale, decimate, and even texture the model.

Forward and Up will control the rotation. +Z is always up in a Robot Overlord scene.
Selection Only will simplify your exporting from Blender. In the image above it will only export J2.
Scale will control the size. For models that appear in meters instead of centimeters, choose 0.1. If your model is imperial, you’ll probably want 2.54.
Now share it with …the world!
You’ve changed the code, you’ve massaged the model, it runs on your machine. Now to share it with everyone else! A pull request from you to the Robot Overlord project will tell the dev team that your stuff is ready. This is the best way to make sure your model gets in the way you want it.
No time? Let us do it for you.
We can add your model(s) to our system. Contact us! We’re looking to collaborate and work with everyone. Writing the class is free; preparing the CAD files is specialized work we outsource and will quote.
What about URDF files?
URDF is the Unified Robot Description Format, part of ROS, the Robot Operating System. ROS is a nice system but much harder to get running – part of the reason I work on Robot Overlord. Join the Robot Overlord github project and help make it happen? Imagine what we could do together!


