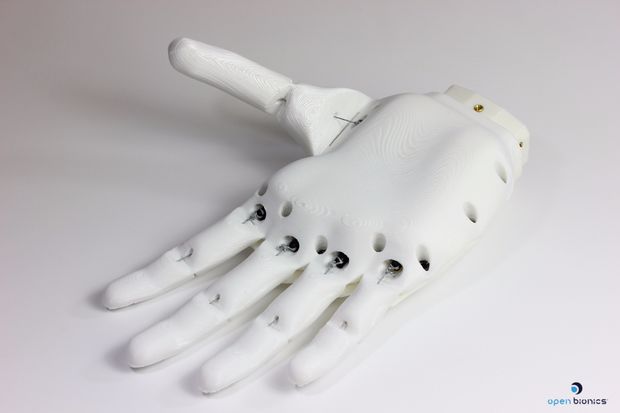
Why Marginally Clever Robots doesn’t make Prosthetic Arms, Hands, Legs, or Feet
Prosthetic arms, prosthetic hands, and prosthetic limbs are useful and good… but Marginally Clever Robots won’t be making them any time soon. Read on to find out why.

Prosthetic arms, prosthetic hands, and prosthetic limbs are useful and good… but Marginally Clever Robots won’t be making them any time soon. Read on to find out why.

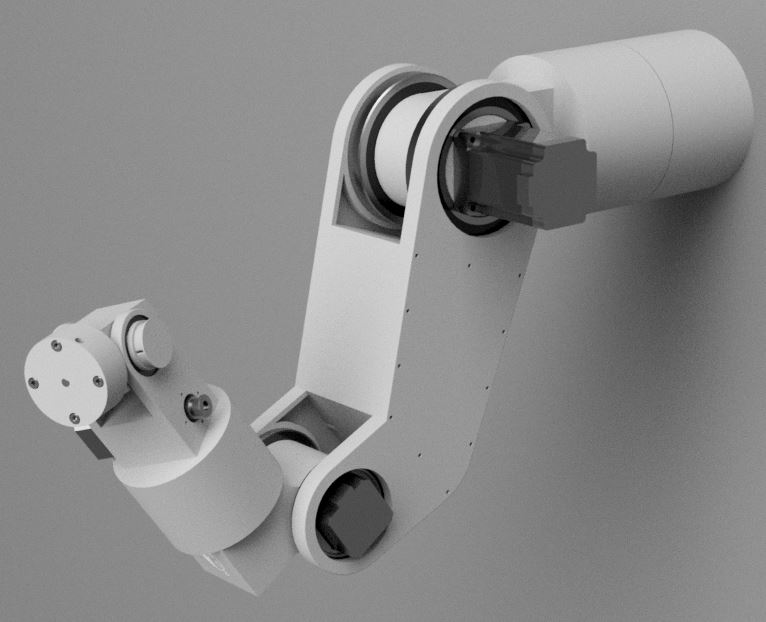
I’ve got Study 5 working in Robot Overlord. The STL files are heavy in detail so the load time is long, but it works. Forward and Inverse kinematics as good as any other arm in the system (which already includes the 7bot, MANTIS, and others). I still don’t have enough time to rip apart the inner workings and rebuild it with a record & play back mechanism. That would be very nice…

Also here is the hole pattern if you want to design a tool that fits on the wrist of the robot. I would love to see someone design an Automatic Tool Changer (ATC) so the robot could put down one tool, pick up another, and use any tool it is currently holding.
This is part 2 of How I would create a robot arm from scratch. In part one I talked about high-level approach and used a computer model to work out some of the design constraints to meet my goals. In this part I applied my design skills to plan a model that should fit within those constraints. Pictures inside! (more…)

Reddit user singdawg asked a great question:
I’m currently starting a project to [create a robot arm]. Anybody know good resources? I’m a capable programmer, have experience with microelectronics and microcontrollers. Have some advanced maths to understand the depth of material (jacobian matrices etc) but I’ve limited experience with servo motors.
If your goal is specifically to DIY a robot arm from scratch, I’d start by figuring out what are my design constraints. I’d choose a carrying weight limit, a reach distance, the number of DOF, and the maximum mass of each joint. from that I could build a kinematic chain to find my torque limits, and match those to available motors and gearboxes. Personally, I choose stepper motors. In Fusion360 I’d create models of those motors, then start placing them at their desired locations. The gaps between parts would be filled with my custom designs, which would then have to be manufactured. The custom design part is very iterative and very slow (for me). Some of the things I ask myself are: Where do the bearings and fasteners fit? How do I plan to make this custom part and how does that affect the design? Where do I run the wiring so it doesn’t catch and break? Have I remembered to put in *every* part, not just waved my hand and said “figure it out later”? Can I design this in smaller pieces for easier testing of each piece?
I should mention here that a robot built with stepper motors can’t tell where it is from moment to moment the way you or I can. Mostly they are built by having limit switches. The robot moves to touch the switches at startup. Since it knows where the switches are it can count steps as it moves from then on. It is crucial from that point on to never miss a step. One day we’ll have better encoders for DIY robot arms, but not yet!
Once I’ve reached a design I like, it’s time to use the bill of materials from Fusion360 to place my order for the parts, and get to making the custom bits while the orders are in the mail. Once they arrive I can put it together and figure out what I did wrong, then go back to the fusion custom part step 🙂
Once I get something that doesn’t fail on assembly, I take each major section of the arm in Fusion360 and save them out as STL files. I bring those into Robot Overlord and make it move virtually. I can then modify some Arduino CNC firmware to follow the same kinematic model that I used in RO, and now I have a GUI to drive it. There are several arms already in RO, feel free to branch it and add your own.
I find calculating forces boring and I love to code. So I wrote a Processing sketch that can simulate a robot arm enough to calculate some masses and torque values. My thinking is that I can use this to set an upper limit on the weight of each joint, then see the torque values and find the motors that will be under-weight and over-torque.
The arm can be moved by clicking on a joint and pressing Q/E. The values at the bottom are the joint number, the direction of rotation, the maximum weight, the distance from the previous joint, the current angle, and the current torque. In a 6DOF arm there are joints 0-5 and joint 6 represents the weight of the tool or the payload carried by the arm.
Get and run the Arm torque calculator.
I’ve done this with 3dof and 5dof arms. I’m currently working on a 6dof robot arm. I like to design from the wrist backwards, because the payload is the most important part, and each motion after that depends on the ones that come before it.
I’m constantly distracted by the work of assembling my other machines. Ironic! If I had the arms they would do the work for me. Soon, soon!
Next in part 2 I will show some of my work designing the arm based on the calculated constraints.
As I just wrote on the THOR project page, Robot Overlord now supports inverse and forward kinematics for the THOR robot. One by one they all fall under my dominion! MwahahahHAHAHAHAHhahahaha…..aha…